THE BALLERINA SERIES
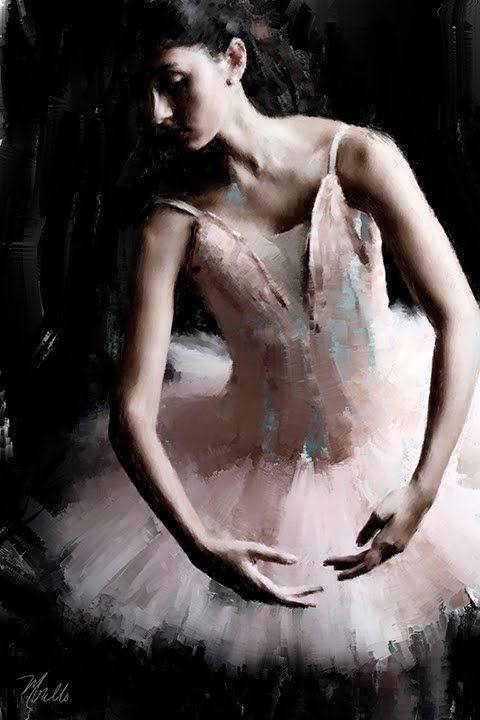
These are 3 new paintings I've recently done:
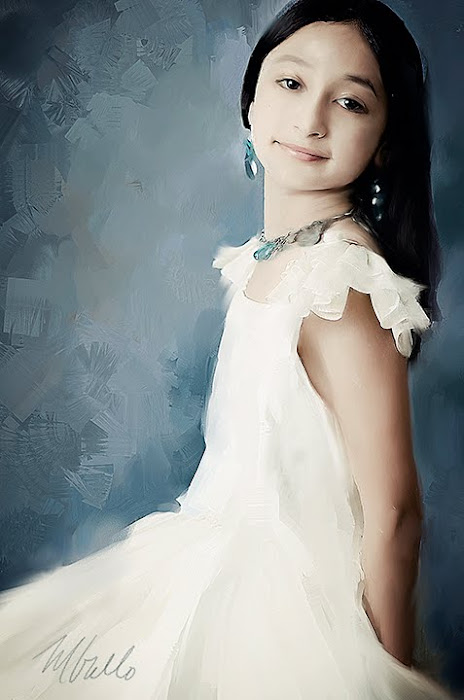
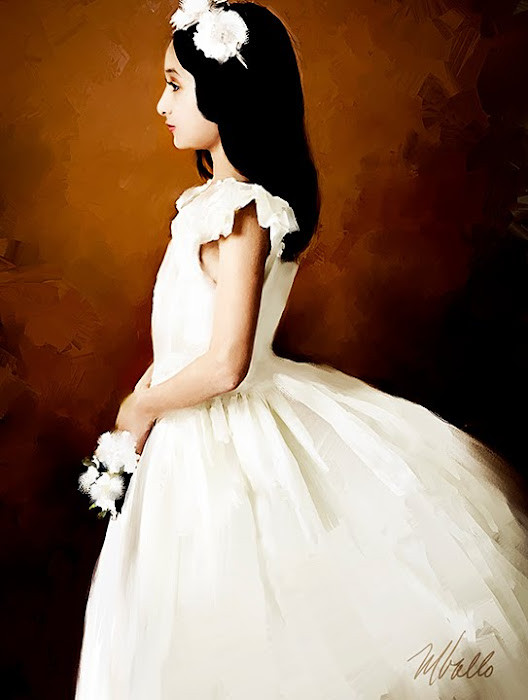
The Ballerina painting 1

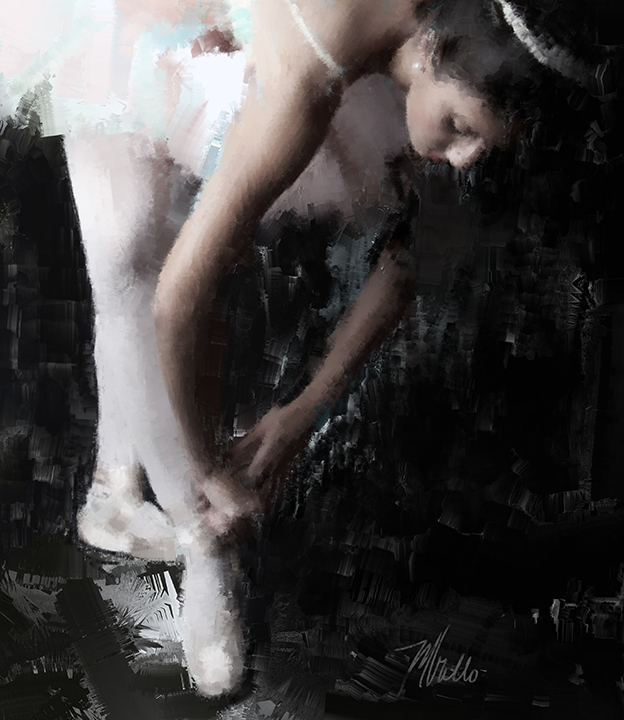
The Ballerina painting 2
The Ballerina painting 3
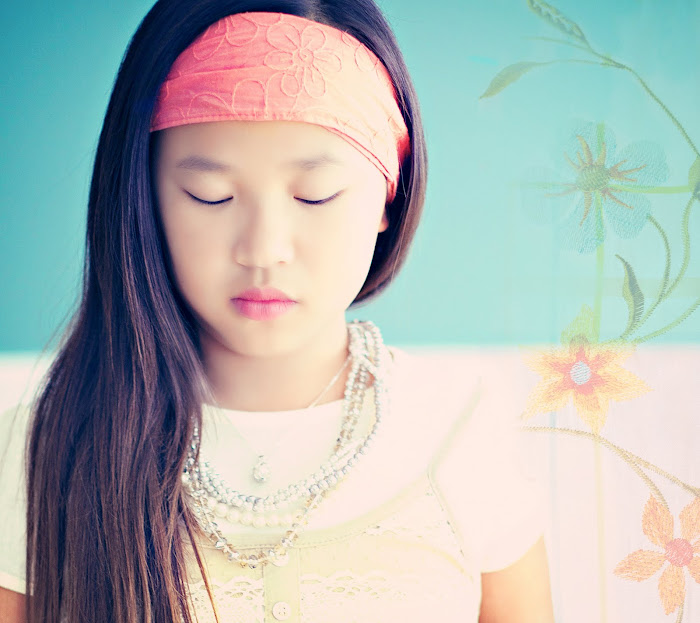
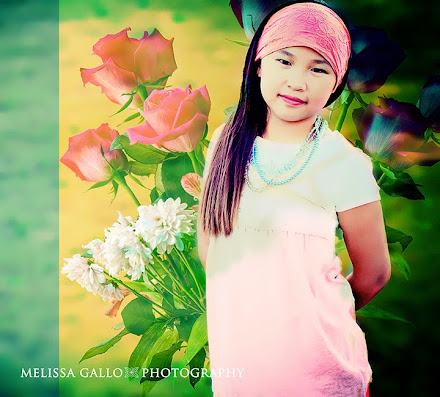
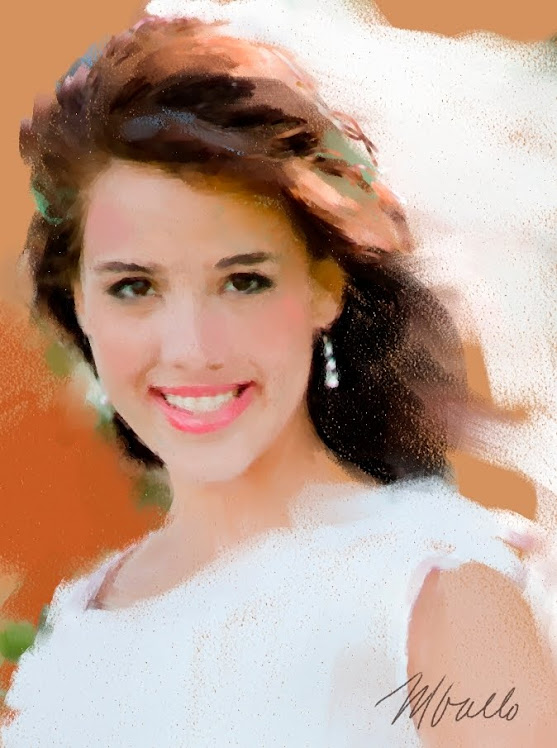
Rachel with Wreathe
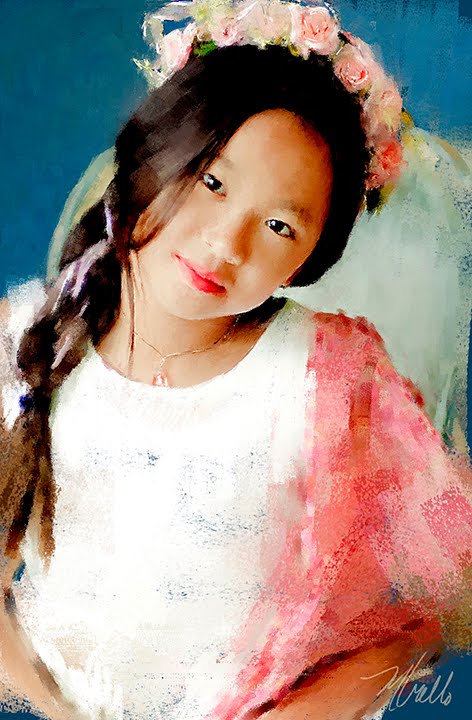
This is a digital pastel. I will demonstrate the techniques I used in my upcoming webinar on pastel painting hosted by Marathon Press. It will take place Tues, May 10th at 7PM central time. Here's the link:
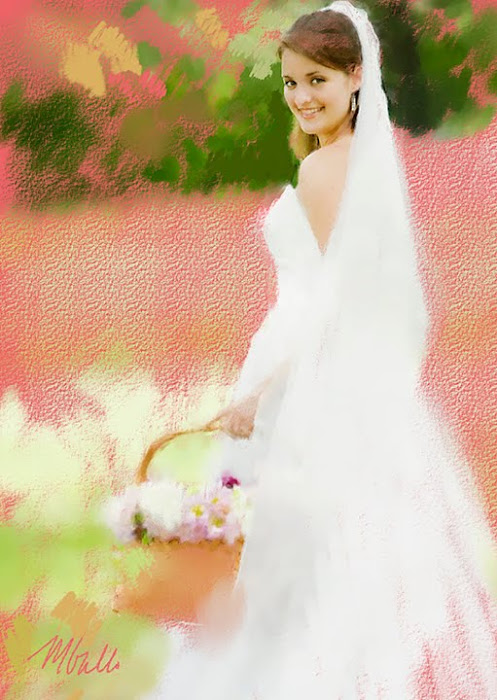
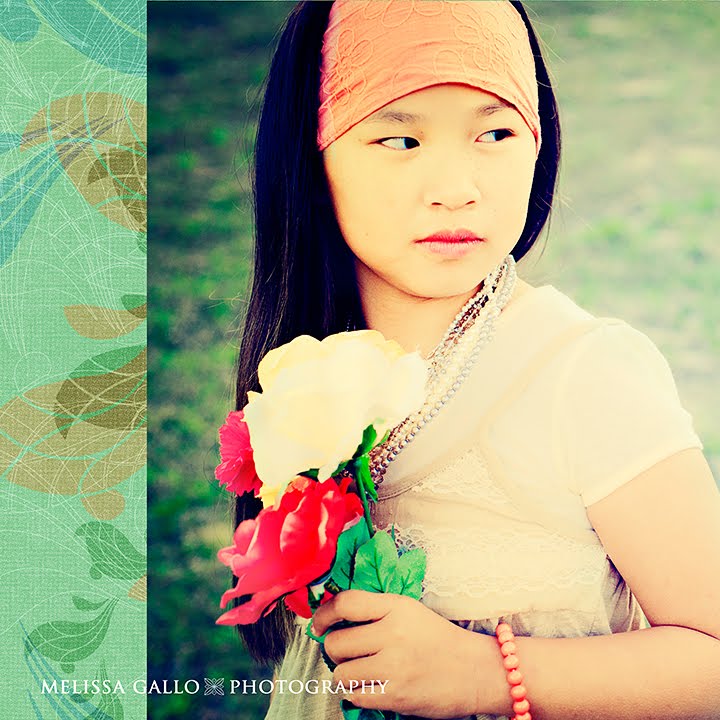
Bride with Basket-pastel
Oil Painting Xitllali version 2
A new oil painting... I sharpened this version twice-once with unsharp mask and then with smart sharpen in Photoshop.
Emilee and Ben's video is here!
Emilee and Ben asked me to put together a little slideshow of their lives and how they met. Making this video made me cry...
engagement video
Digital Painters group
Thanks for a wonderful webinar folks. Your comments were great and I really enjoyed teaching you! here's the link that you've requested to the Digital painters group I've started on Flickr. So let's get to painting, share our stuff and have fun!
here is the link:
http://www.flickr.com/groups/digitalpainters
http://www.flickr.com/groups/digitalpainters
NEW WEBINAR ON DIGITAL OIL PAINTING
The webinar will be on Tues, April 5th at 7PM central time, hosted by Marathon Press. Here is the link:
Below are examples of 2 new paintings I will be demonstating and discussing in the webinar. The painting of the older girl is called "Cristina" and the one of the younger, "Xitllali." So get ready to paint everyone!
Xitllali
Cristina

A Dream of Spring
A Dream of Spring


Here is a painting that I added a filter to to turn it into a black and white oil!
BRIDESMAID
This is another pastel executed with the same pastel brushes used below. This time I first filled my canvas with a dark gray color to imitate typical pastel paper
STUDENT CORNER
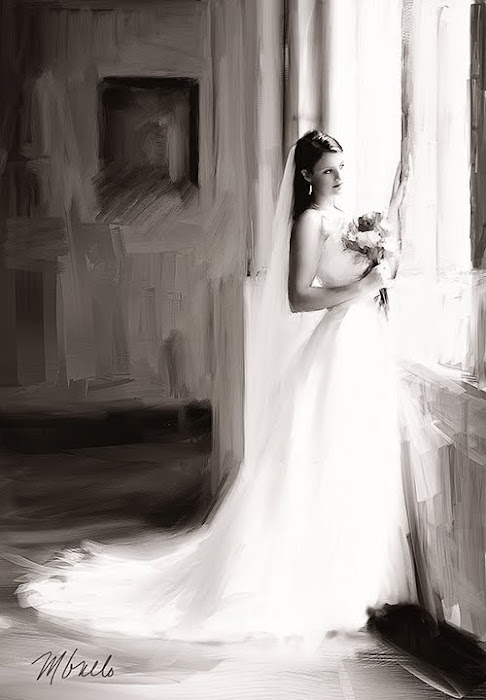
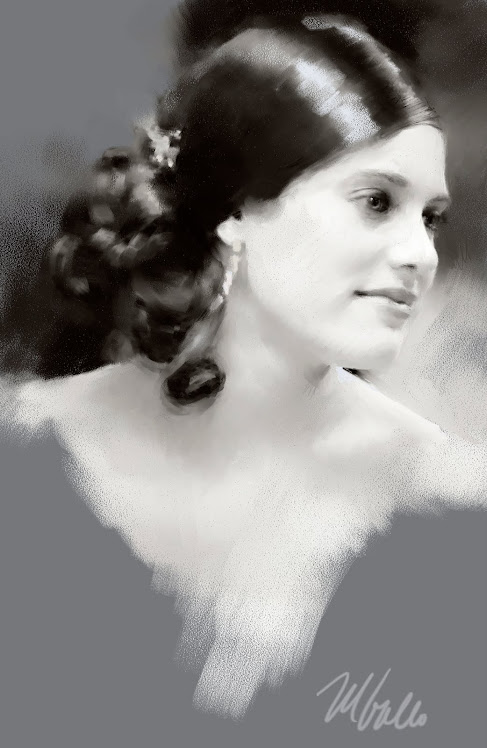
Studio Bride
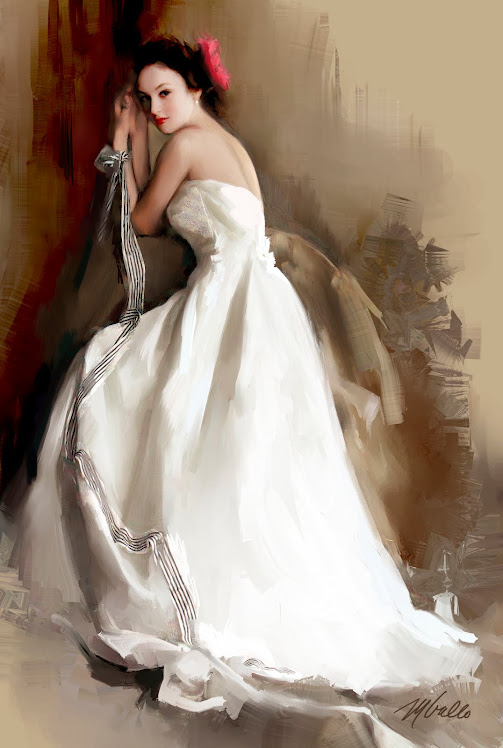
STUDIO BRIDE
This painting took much longer, because I felt that it called for a more refined treatment. It took about 3-4 hrs. to execute but I was very happy with the result because this is more of the kind of painting a client would expect.
I essentially used the same method, that is, beginning large with the Sargent brush, and gradually reducing it's size. But this time I primarily used a small size smeary round for the face, alternating it with the blender brush to get that smooth look on the face.
Then I had fun with the background by applying the Sargent brush at a very large size by pressing and twisting the stylus into the tablet. This is where you can take advantage of the very decorative effect this brush can create!
Bride in Spring
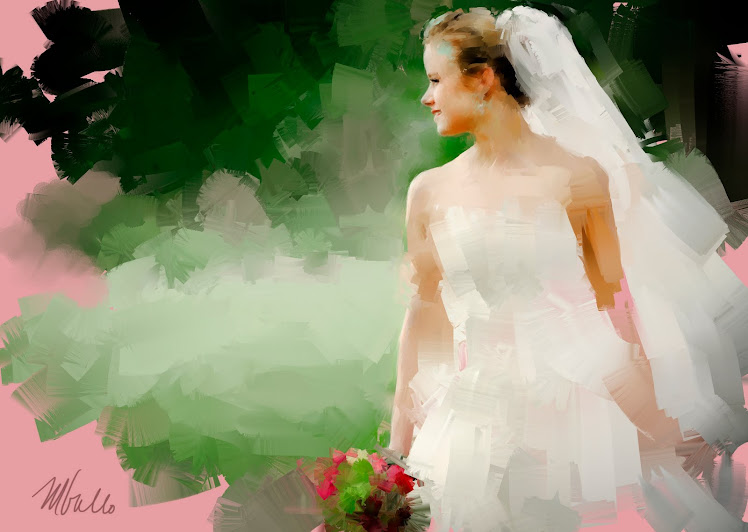
How Bride in Spring was Created
BRIDE IN SPRING
This painting went very fast-I believe I finished it in about 15 minutes. I just love its painterly feel! But photographers who are turning their client's photo into a painting will find that the client will usually want a more finished quality. (An example of this type of treatment will be in the next post)
I used only 3 brushes for this painting- the Sargent brush, the smeary round of the "oils" category and the fine camel 10. Again, start out large with a size 100 or so Sargent. Gradually get smaller with this brush as you get tighter onto the face. Now your brush size goes down to a 5 and you alternate it with the Smeary Round at size 10 or so. You MUST EXPERIMENT! Lastly, use your Fine Camel 10 sparingly to just touch on the details of the eyes, nose and lips.
Diana in the Doorway pastel

DIANA IN THE DOORWAY
How to work with pastels in Painter:
1. apply your tracing paper
2. fill your canvas with a color-for both paintings I chose a beige
3. start working loosely with a pastel variant called Square Hard Pastel 40
4. gradually decrease the size of this brush
5, Finally, for smaller details use the pastel variant called Tapered Pastel 10
That's it! All I used were 2 brushes!
Debbie pastel
Mount Vernon

Steps for painting Mount Vernon
This painting was executed in a similar fashion to "Clermont Morning."
1. Smear the painting first with a size 99 Sargent brush.
2. Then smooth out your entire painting with the grainy water cloner brush. This step will facilitate a smooth background for your sky.
3. Begin distinguishing detail by alternating your smeary round oil brush and Sargent brush between sizes 25 and 45. This is where you need to experiment!
4. Now, start getting in tighter with smaller sizes for the smeary round and Sargent brushes-alternating them as needed. I find i need to go down to about a size 15 with both of these brushes at this stage. Remember to alternate them to add interest.
5. Pick out the tiniest details with your smallest brush, the fine camel 10 (an oil brush). Remember to be VERY careful with this brush-it brings you right down to the actual photograph. Just give a suggestion of a branch here and there or the rim of a roof. Touch very lightly with this brush.
6.Final step is sharpening in photoshop with unsharp mask. again-not too much! You just want to sharpen enough to bring out the brush strokes. You might even decide to leave this step out, depending on the effect you want.
HAPPY PAINTING!
Clermont Morning
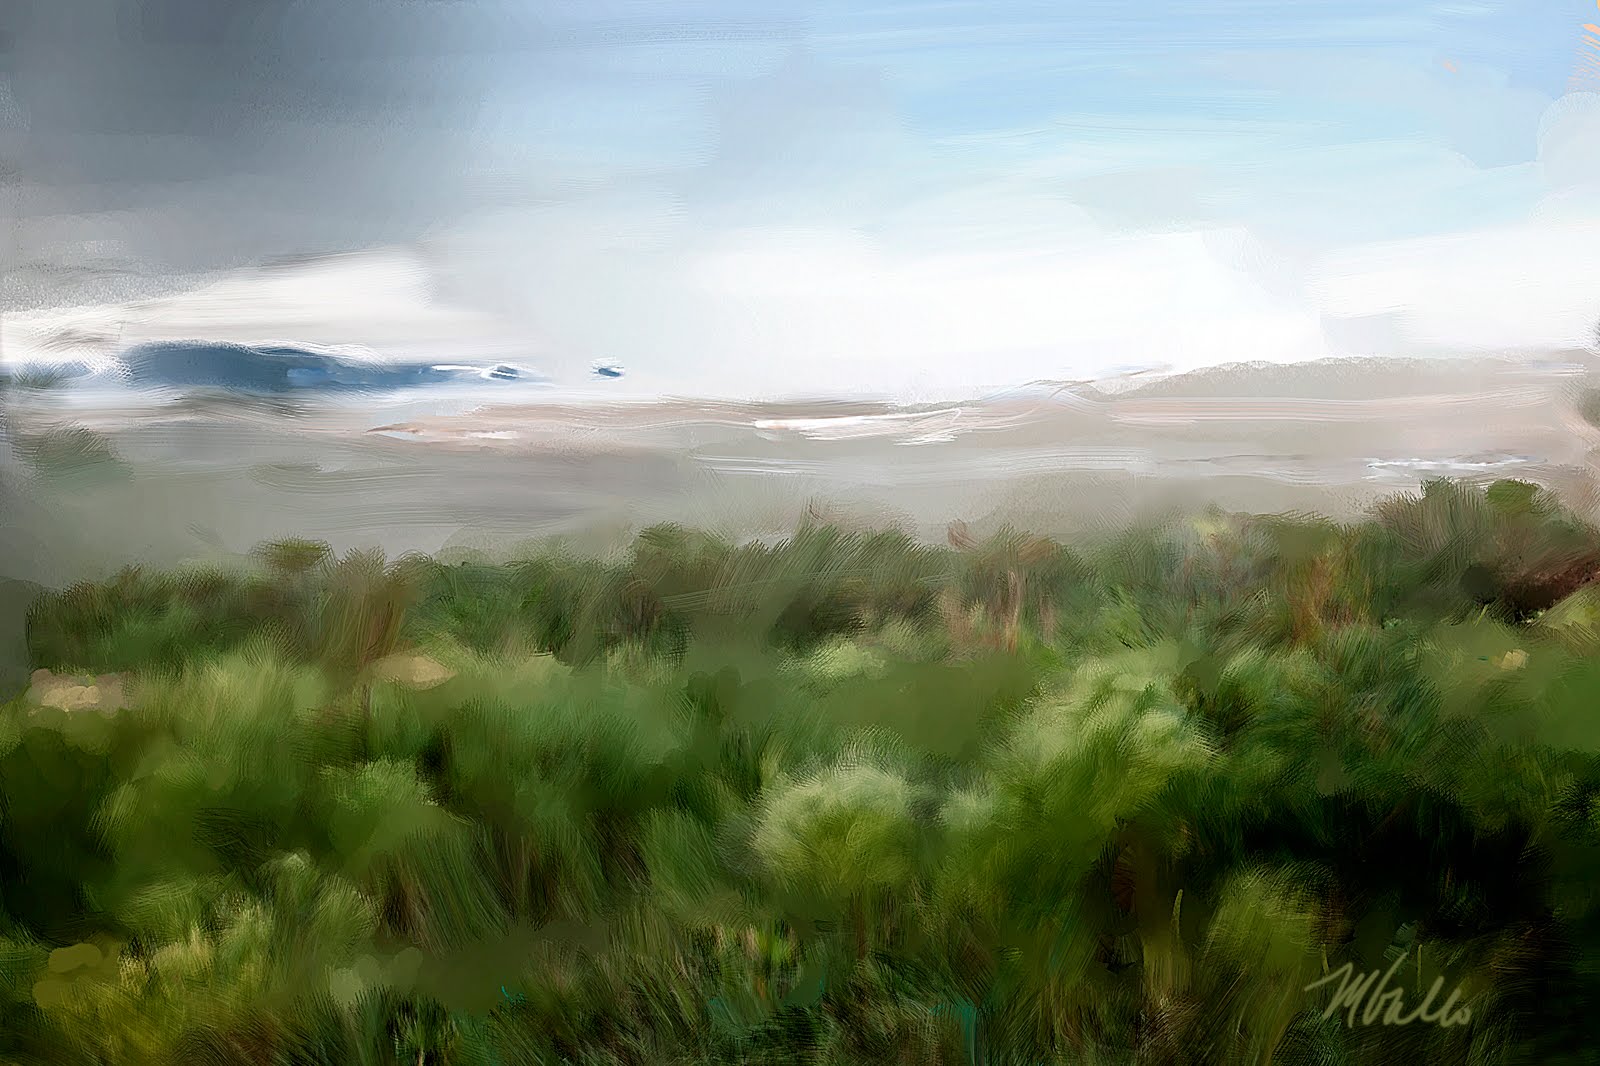
Clermont Morning
Steps for painting Clermont Morning
1. clone photo and smear with large oils smeary flat brush
2. Then smear all color on painting with grainy water cloner used at 100
3. pick out a few details in the distance-mountains, etc.-with oil smeary round brush
4. use this same brush at about size 25 to begin delineating foreground
5. NEW TIP! Using same brush at size 45 press your pen into the tablet and hold each stroke for a second or two. This allows grasses to appear and you can paint them in a few minutes!
Original Photo for Clermont morning

Subscribe to:
Post Comments (Atom)
No comments:
Post a Comment